TV Wall Mount Guide: Choose, Install & Secure Safely
Did you know a TV that’s not properly mounted can become a real hazard in a classroom or home? A solid wall mount not only looks sleek, it keeps the screen steady and out of the way of foot traffic. Below you’ll find straight‑forward advice on picking the right bracket, preparing the wall, and finishing the job without a hitch.
Choosing the Right Wall Mount
First, think about how you’ll use the TV. If the screen stays in one spot, a fixed mount is the simplest and cheapest option. It holds the TV close to the wall and gives a clean look. For rooms where you need to tilt the screen to avoid glare—like a lab with bright windows—a tilting mount does the trick. If you plan to swivel the TV for different seating zones, go for an articulating (full‑motion) bracket.
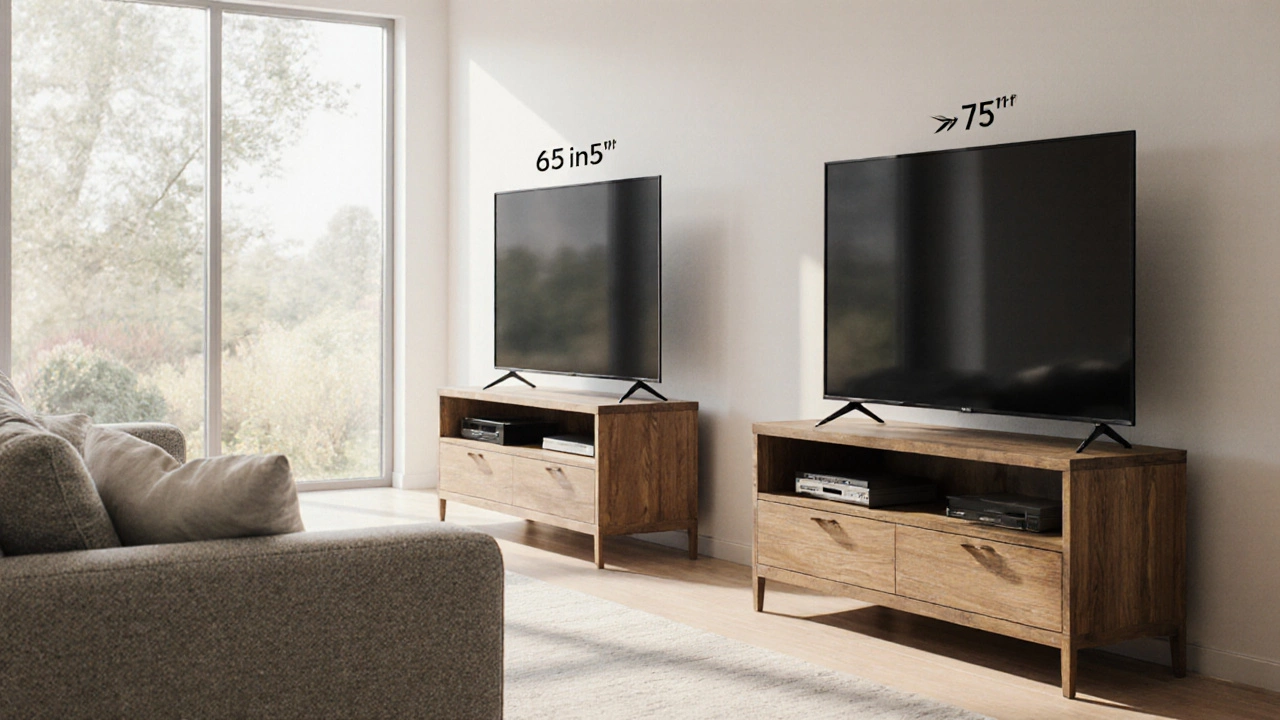
Next, check the TV’s VESA pattern. This is the grid of holes on the back of the screen, measured in millimetres (e.g., 200 × 200). The mount you buy must match that pattern. The TV’s weight is equally important; a bracket rated for 30 kg won’t hold a 50 kg screen safely. Most product pages list both VESA and weight limits, so double‑check before you order.
Because you’re on an educational site, consider the wall material. Most schools have plasterboard over wooden studs, while offices might use concrete. For plasterboard, locate the studs and anchor the mount into them with wood screws. If you only have plasterboard, use heavy‑duty toggle bolts, but know they have lower weight limits. Concrete walls need masonry anchors or a drill with a hammer function.
Step‑by‑Step Installation
1. Gather tools. You’ll need a drill, appropriate drill bits (masonry or wood), a level, a stud finder, a screwdriver, and a helper to hold the TV.
2. Mark the mounting points. Using the stud finder, locate two studs at the height you want the TV. Measure the distance between the mounting holes on the bracket and transfer those measurements to the wall. A quick level check ensures the bracket won’t tilt.
3. Drill pilot holes. For wood studs, a 6 mm drill bit works fine. For concrete, use a 6 mm masonry bit and a hammer drill. Insert the anchors if you’re not drilling directly into a stud.
4. Secure the bracket. Fasten the screws tightly, but don’t over‑tighten and strip the threads. Give the bracket a gentle wiggle; it should feel solid.
5. Attach the mounting plate to the TV. Line up the holes on the back of the TV with the plate, then screw them in according to the manufacturer’s torque specifications.
6. Lift and lock. This step really needs a second pair of hands. Lift the TV onto the bracket, hook the plate onto the wall mount, and lock it in place with the safety screws or clips provided.
7. Test the setup. Gently tilt or swivel the TV (if you have a moving mount) to make sure everything moves smoothly and stays locked. Check that cables have enough slack and aren’t pulling on the back of the screen.
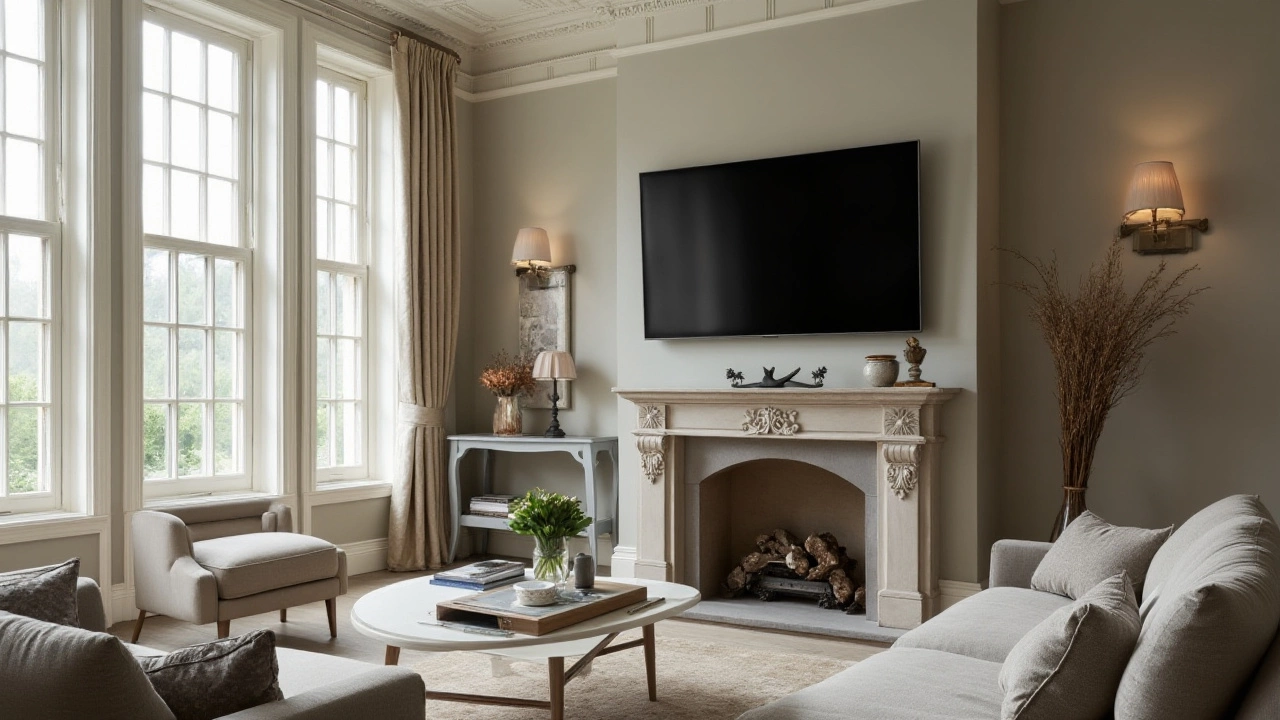
Once the TV is up, you can hide cables with a simple raceway or run them through the wall for a clean look. In a classroom, keeping wires tidy reduces tripping hazards and looks professional.
With the right mount and a careful install, your TV will stay safe, look great, and serve its purpose for years. Whether you’re setting up a lecture hall, a staff lounge, or a home theater, these steps cover the basics you need to get the job done right.