Vinyl Wrap Cost Calculator
Cost Comparison Tool
See how much you'll save by wrapping your furniture instead of buying new.
Project Summary
Estimated SavingsThis is a general estimate. Actual costs may vary based on your specific project.
Your Options
Project Timeline
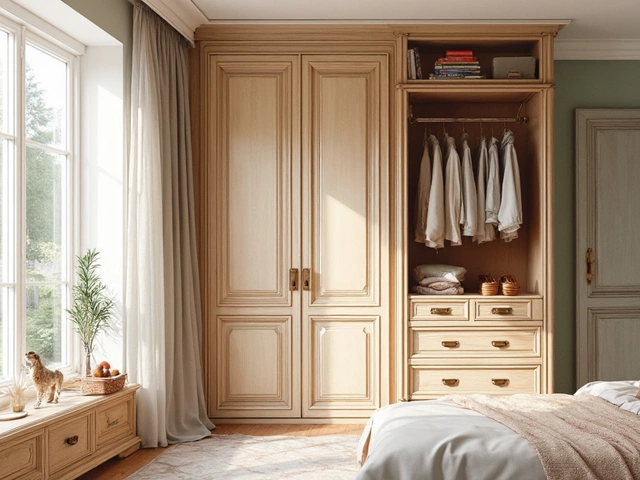
Thinking about vinyl wrapping your old dresser, bookshelf, or cabinet? You’re not alone. More people in Auckland and beyond are skipping the cost of new storage furniture and giving their old pieces a fresh look with vinyl wrap. But the big question is: is it hard to vinyl wrap furniture? The answer? Not if you know what you’re doing. It’s easier than painting, cheaper than buying new, and way more satisfying than tossing something that still works.
Why Vinyl Wrap Instead of Paint or New Furniture?
Painting furniture takes days-sand, prime, paint, wait, sand again, repaint. It’s messy, smells bad, and one drip ruins the whole look. Vinyl wrap? You can do it in a weekend. No fumes. No sanding. No primer. Just clean, cut, stick.
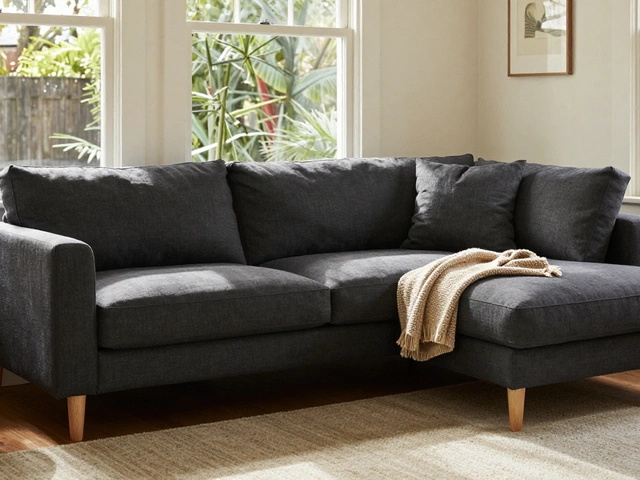
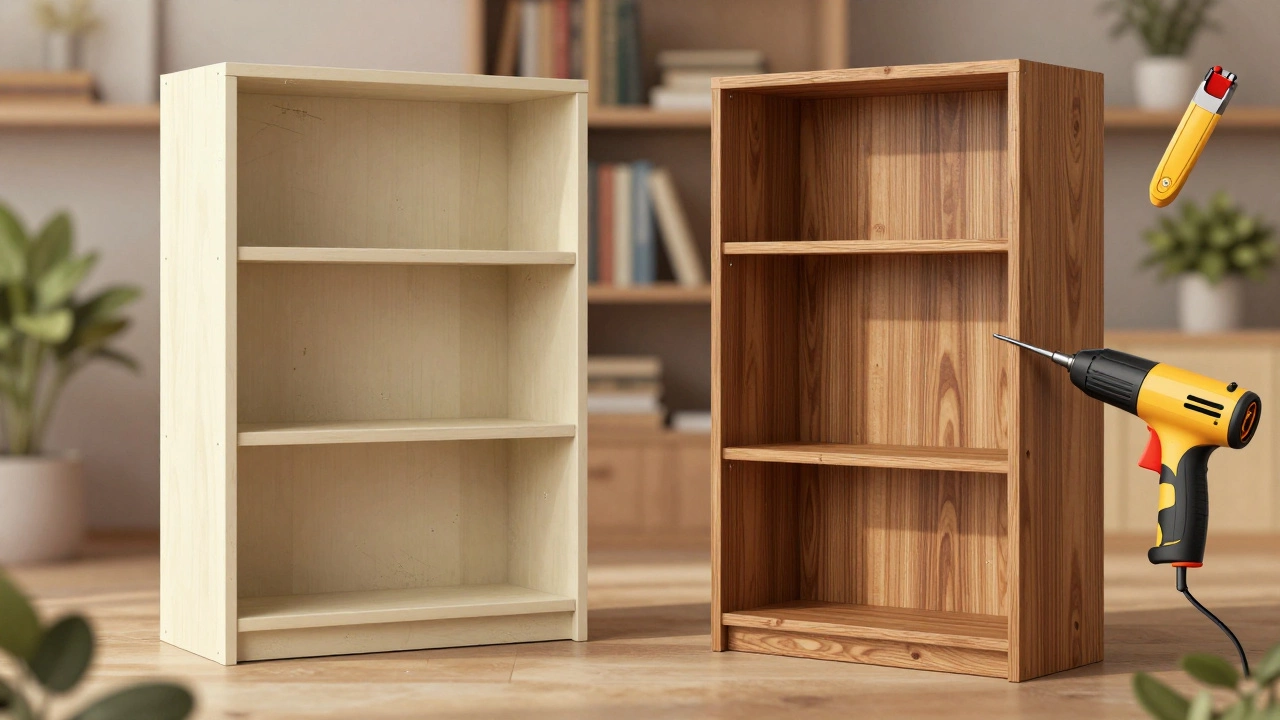
And it’s not just for modern homes. People are wrapping wooden dressers from the 70s, laminate cabinets from the 90s, even particle board bookshelves. The vinyl hides scratches, stains, and cheap finishes. You can go from dull beige to matte black, wood grain, or even a bold red. It’s like giving your furniture a new skin.
Cost-wise, a roll of high-quality vinyl wrap runs $30-$80, depending on size and design. A new storage cabinet? $300-$800. Even with tools, you’re saving 80%.
What You Need to Get Started
You don’t need a workshop. Just a few basic things:
- Vinyl wrap film-Pick a self-adhesive, PVC-based wrap designed for furniture. Look for "cast vinyl"-it’s more flexible and lasts longer than cheaper calendared types.
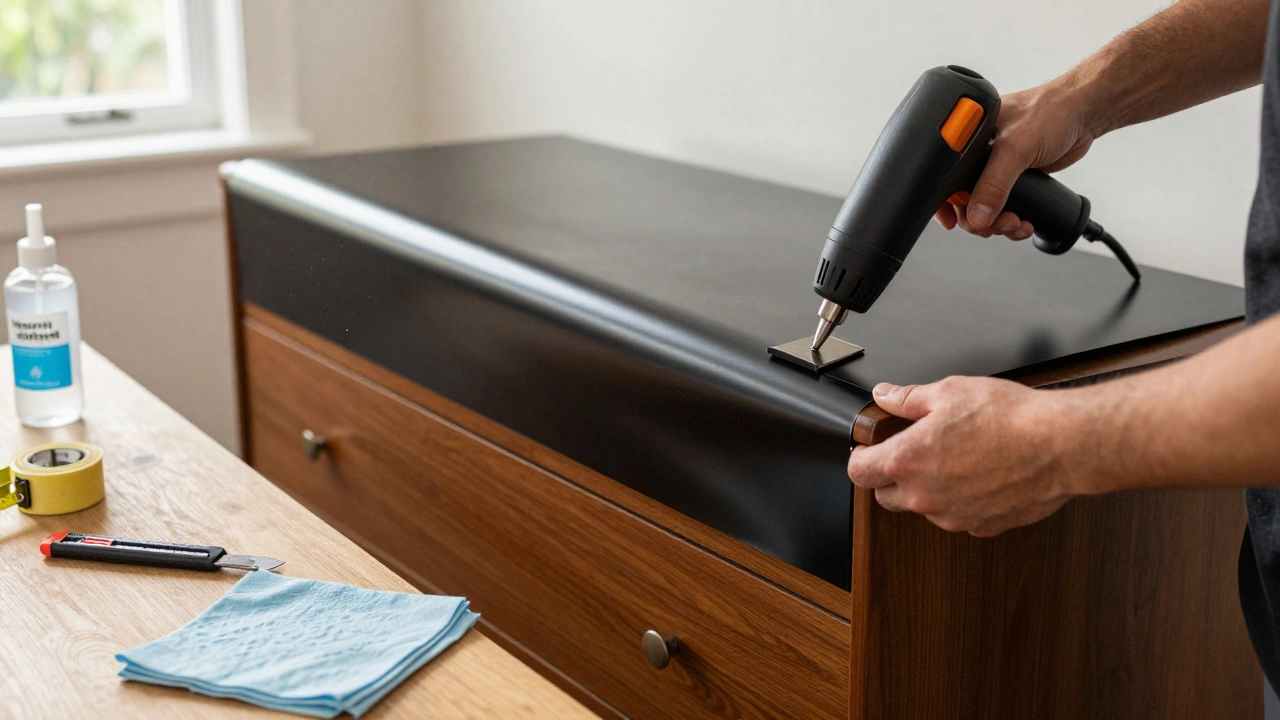
- Heat gun-A hairdryer won’t cut it. You need at least 1200W to shrink the vinyl around curves and edges.
- Squeegee-A hard plastic one, like the kind used for window tinting. No cloth or sponge.
- Sharp utility knife-For trimming excess.
- Isopropyl alcohol and lint-free cloths-To clean the surface before wrapping.
- Tape measure and pencil-For marking cuts.
Pro tip: Buy extra. You’ll mess up the first piece. Everyone does. It’s part of learning.
Step-by-Step: How to Wrap a Storage Cabinet
Let’s say you’re wrapping a 6-drawer dresser. Here’s how to do it right:
- Take it apart if you can. Remove drawers, handles, and hinges. Wrap the frame and drawers separately. It’s way easier than trying to wrap around hardware.
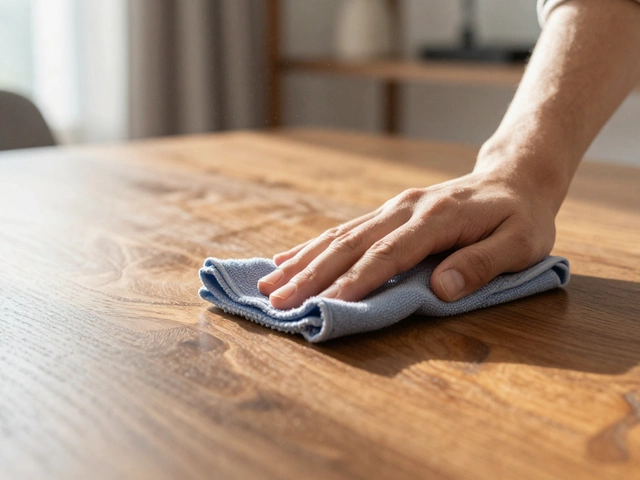
- Clean everything. Wipe down all surfaces with isopropyl alcohol. Dust, grease, or wax will make the vinyl peel later. Let it dry completely.
- Measure and cut. Measure each panel-front, sides, top, bottom. Add 2 inches to each side for overlap. Cut the vinyl with scissors or a rotary cutter. Don’t cut too small-you can trim later, but you can’t add more.
- Start with the largest flat surface. Usually the front of the drawer or cabinet. Peel back 6 inches of the backing, stick it down, then slowly peel the rest while smoothing with the squeegee. Work from the center out to push out air bubbles.
- Use the heat gun on edges. When you get to corners or beveled edges, heat the vinyl lightly. It becomes pliable. Stretch it gently over the edge, then squeegee it down. Don’t rush. If it wrinkles, heat it again.
- Trim excess. Once everything’s stuck, use the utility knife to cut away extra vinyl. Run the blade along the edge, keeping it flat against the surface. Don’t press hard-you’re cutting vinyl, not wood.
- Reassemble. Put drawers and handles back. If you wrapped over the handle holes, use a knife to cut small X-shaped slits and fold the edges under.
It sounds like a lot, but the first piece takes maybe 3 hours. The second takes 90 minutes. By the third, you’re doing it while listening to music.
What Goes Wrong-and How to Fix It
Here are the three most common mistakes:
- Air bubbles-Happens if you don’t squeegee well. Small ones? Poke them with a pin and press flat. Big ones? Heat the area and lift the vinyl slightly, then re-smooth.
- Peeling at corners-Usually from not heating enough. Reheat the edge, press down firmly, and hold for 10 seconds. Add a tiny drop of adhesive under the edge if it keeps lifting.
- Cut too short-You can’t fix it. That’s why you leave extra. If you’re already wrapped and it’s too tight? You’ll need to remove the whole piece and start over. Use the heat gun to soften the adhesive, then peel slowly.
One thing no one tells you: vinyl wrap doesn’t stick well to glossy finishes. If your furniture has a high-gloss lacquer, lightly sand it with 220-grit sandpaper. Just enough to take the shine off. Then clean again. That’s the secret to lasting results.
Best Vinyl Wrap Types for Furniture
Not all wraps are made equal. Here’s what works best:
| Type | Best For | Durability | Price Range |
|---|---|---|---|
| Cast Vinyl (Matte Black) | Modern dressers, cabinets | 5-8 years | $60-$80/roll |
| Wood Grain (PVC) | Old particle board shelves | 3-5 years | $40-$60/roll |
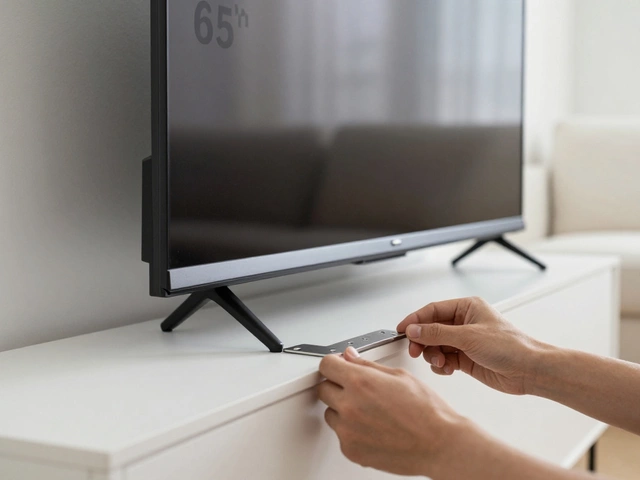
| Textured Grey (Frosted) | TV stands, sideboards | 4-6 years | $50-$70/roll |
| Color Change (Red, Blue) | Accent pieces | 2-4 years | $30-$50/roll |
Stick with brands like 3M, Avery Dennison, or Oracal. They’re more expensive, but they don’t bubble, fade, or peel after a year. Cheaper wraps from Amazon? They look fine at first-but peel off in humid weather. Auckland’s damp climate eats cheap vinyl for breakfast.
Who Shouldn’t Try This?
Vinyl wrap isn’t magic. It won’t fix broken drawers or wobbly legs. If your furniture is falling apart, fix it first. Wrap it after.
Also, avoid wrapping:
- High-touch areas like drawer pulls if you’re not removing them
- Surfaces exposed to direct sunlight all day-UV fades some colors
- Real wood with deep grain-you’ll lose the texture, and the vinyl might lift along the grooves
If you’re wrapping a piece you plan to sell later, go neutral. Matte black, grey, or wood grain sell better than neon green.
How Long Does It Last?
With proper prep and care, a vinyl-wrapped dresser can last 5-8 years. I’ve seen ones in Wellington homes from 2021 still looking sharp. The key? Don’t use harsh cleaners. Wipe with a damp cloth. No bleach. No ammonia. No scrubbing pads.
And if a corner lifts? Heat it, press it, done. No need to rewrap the whole thing.
Final Thought: Is It Hard?
No. It’s not hard. It’s tedious. It takes patience. You’ll mess up. You’ll curse. You’ll think about giving up. But then you’ll finish, and you’ll stand back and realize-you did that. You took a piece of junk and turned it into something you love. No professional needed. No big budget. Just time and a heat gun.
And that’s the real win.
Can I vinyl wrap particle board furniture?
Yes, but you must clean it thoroughly and lightly sand the surface first. Particle board often has a thin laminate or gloss finish that vinyl won’t stick to. Sanding with 220-grit paper gives the adhesive something to grip. After sanding, wipe with isopropyl alcohol and let it dry completely before applying the wrap.
Do I need to remove drawers and handles?
You don’t have to, but you should. Wrapping around handles creates weak spots where the vinyl can peel. Removing them lets you wrap the surface cleanly and then cut small X-shaped slits to reattach them. It looks way more professional and lasts longer.
Can I wrap curved edges on furniture?
Yes, but you need a heat gun. Cast vinyl is flexible enough to bend around curves if you heat it gently. Start by applying the vinyl flat, then use the heat gun to warm the edge. Slowly stretch and press it into the curve with the squeegee. Don’t force it-heat makes it moldable.
Will vinyl wrap cover scratches and dents?
It hides light scratches and surface stains, but not deep dents or gouges. If the wood is broken or the surface is uneven, the vinyl will follow the contour and the dent will still show. Fill deep damage with wood filler, sand it smooth, then wrap. Otherwise, you’re just wrapping a problem.
Can I vinyl wrap over paint?
Yes, but only if the paint is in good condition-no peeling, chipping, or flaking. If the paint is old or chalky, it will cause the vinyl to lift. Clean the surface with alcohol and test a small area. If the vinyl sticks well after 24 hours, you’re good to go.
How do I clean vinyl-wrapped furniture?
Use a soft, damp cloth and mild soap. Avoid abrasive cleaners, bleach, or ammonia-based products. Never use a scrubbing pad. For fingerprints or smudges, a microfiber cloth with a little water works fine. Keep it dry and avoid prolonged moisture exposure.