Wall-Mounted TV: How to Choose, Install and Fit It Right
Thinking about hanging a TV on the wall of a classroom or lecture hall? You’re not alone. Schools are swapping bulky TV stands for sleek, wall‑mounted screens because they free up floor space and look modern. But a good setup isn’t just about slapping a screen on the wall. You need the right size, the proper height, safe mounting hardware and furniture that works with the display. Let’s walk through the steps so you get a setup that’s safe, ergonomic and fits your learning space.
Pick the Right Size and Height
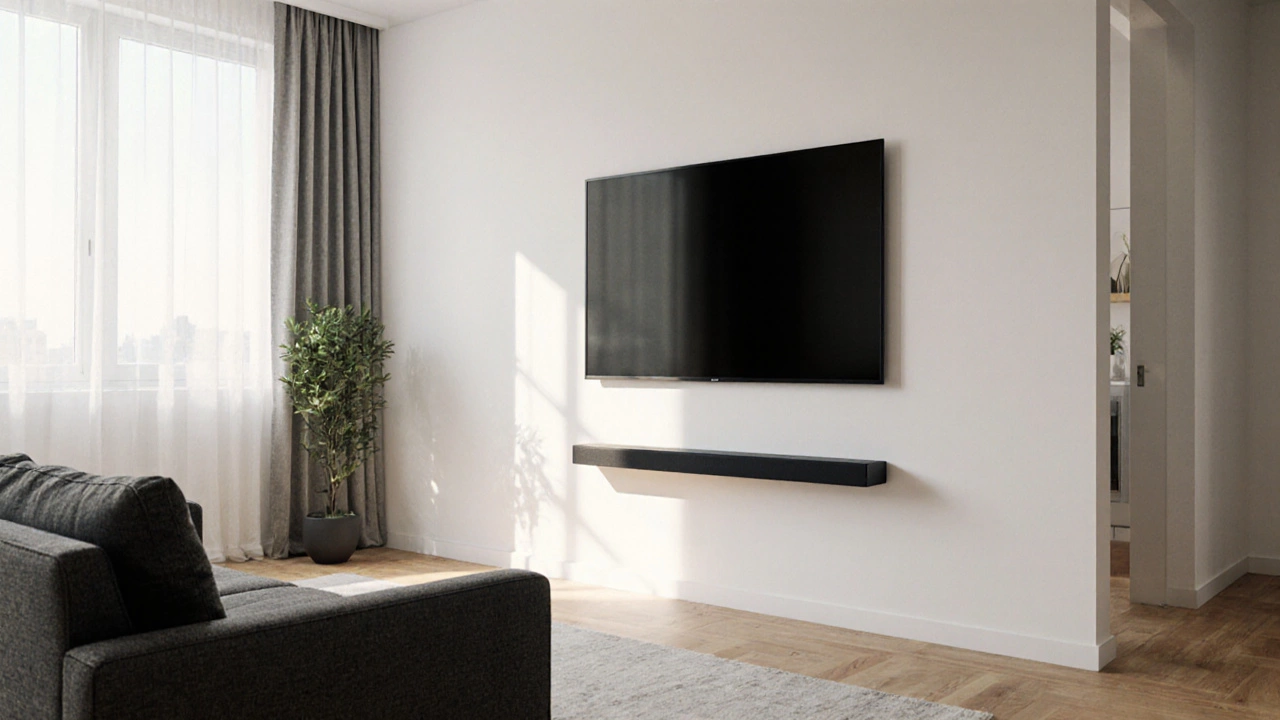
Start with the screen size. Measure the wall’s width and height, then leave a few inches of breathing room on each side. A 55‑inch TV works well in most secondary‑school classrooms, while a 65‑inch screen is better for larger lecture rooms. Once you know the size, figure out the viewing height. The centre of the screen should be roughly at eye level for the tallest student in the room – usually around 1.2 m (about 4 ft) from the floor. If the wall is high, consider an adjustable mounting bracket so you can tilt the screen down a bit.
Secure Mounting and Cable Management
Safety is non‑negotiable in schools. Use a wall mount that’s rated for the TV’s weight and attach it to studs or solid masonry, not just drywall. A quick‑release mount makes future maintenance easier. Hide power cords and HDMI cables behind a cable raceway or inside a shallow wall channel. Not only does this look tidy, it reduces tripping hazards and keeps kids from pulling on loose wires.
Don’t forget ventilation. Leave at least an inch of space around the back of the TV so it can breathe. Overheating can cut the TV’s life short, and a hot screen can be a safety risk.
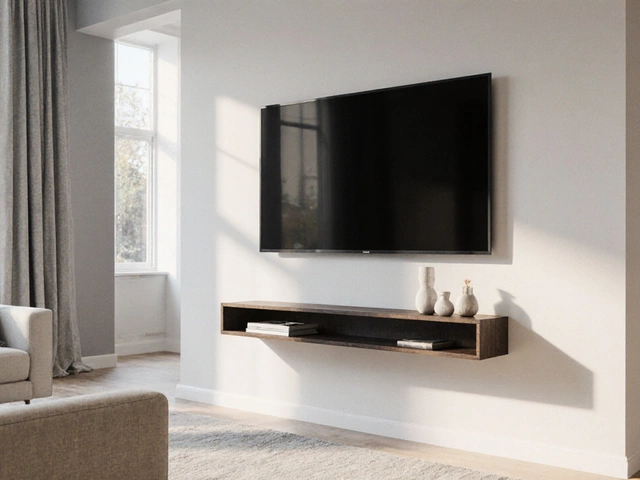
Furniture That Complements the Screen
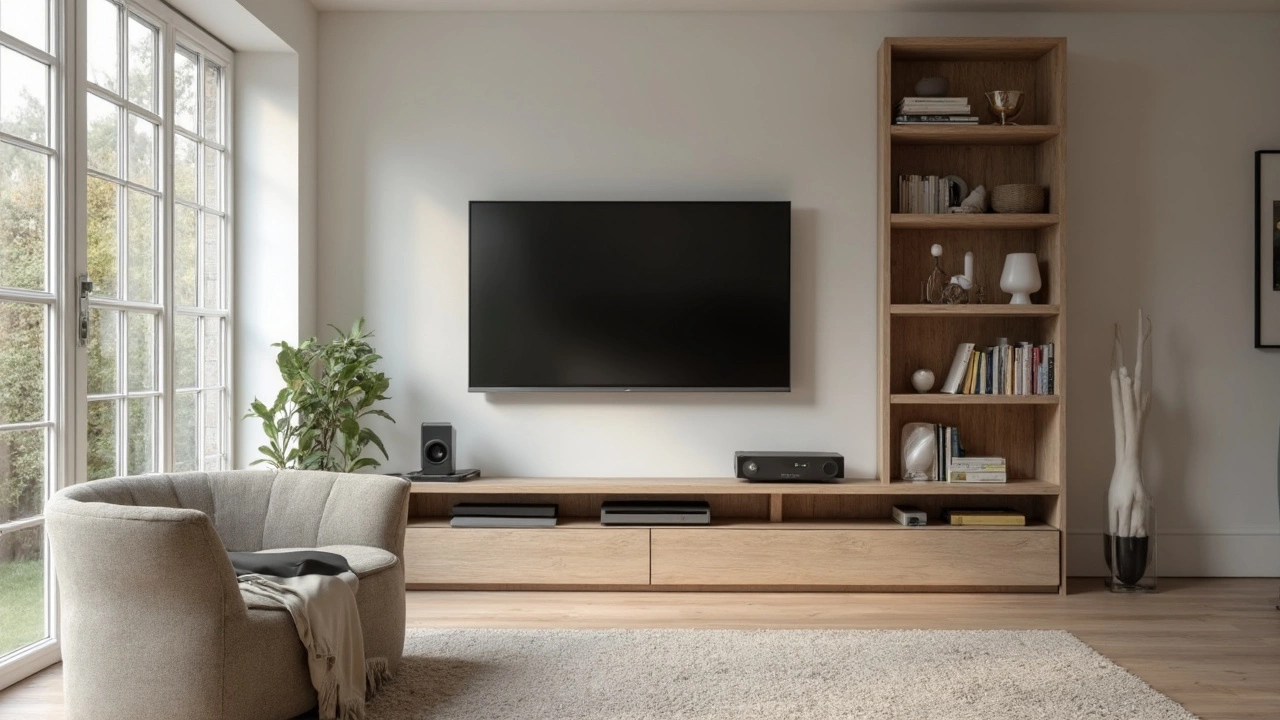
Even with a wall‑mounted TV you still need some low‑profile furniture for devices, remote controls and notebooks. A slim console or a wall‑mounted media shelf works great – it keeps the floor clear for desks and chairs. At Zoot Educational Furniture we offer narrow storage units that slide under the TV’s line of sight, so you can stash cables, tablets or teaching aids without clutter.
Pair the TV with ergonomic desks that let students sit at the right distance – roughly 1.5 to 2.5 m (5‑8 ft) from the screen. Adjustable chairs help keep posture in check, especially when students lean forward to see details. If your room uses flexible seating, add a few low stools that can be tucked under the console when not needed.
Lighting and Acoustics
Glare can ruin a great TV. Position the screen away from direct sunlight or install blinds that can be pulled down during lessons. Soft, diffused ceiling lights reduce reflections without dimming the picture too much. Acoustic panels on the walls help keep sound clear, so every student hears the lesson without straining.
Finally, test the setup with a short video. Walk around the room, sit at each desk and make sure the picture is sharp and the sound is even. Adjust the tilt or height if anyone feels forced to look up or down.
With the right size, secure mounting, tidy cables and furniture that supports the layout, a wall‑mounted TV becomes a powerful teaching tool rather than a visual obstacle. It frees up space for collaborative desks, adds a modern look and makes learning more engaging. Ready to upgrade your classroom? Start with these steps and you’ll have a safe, functional TV wall in no time.